
 - 400 g;)
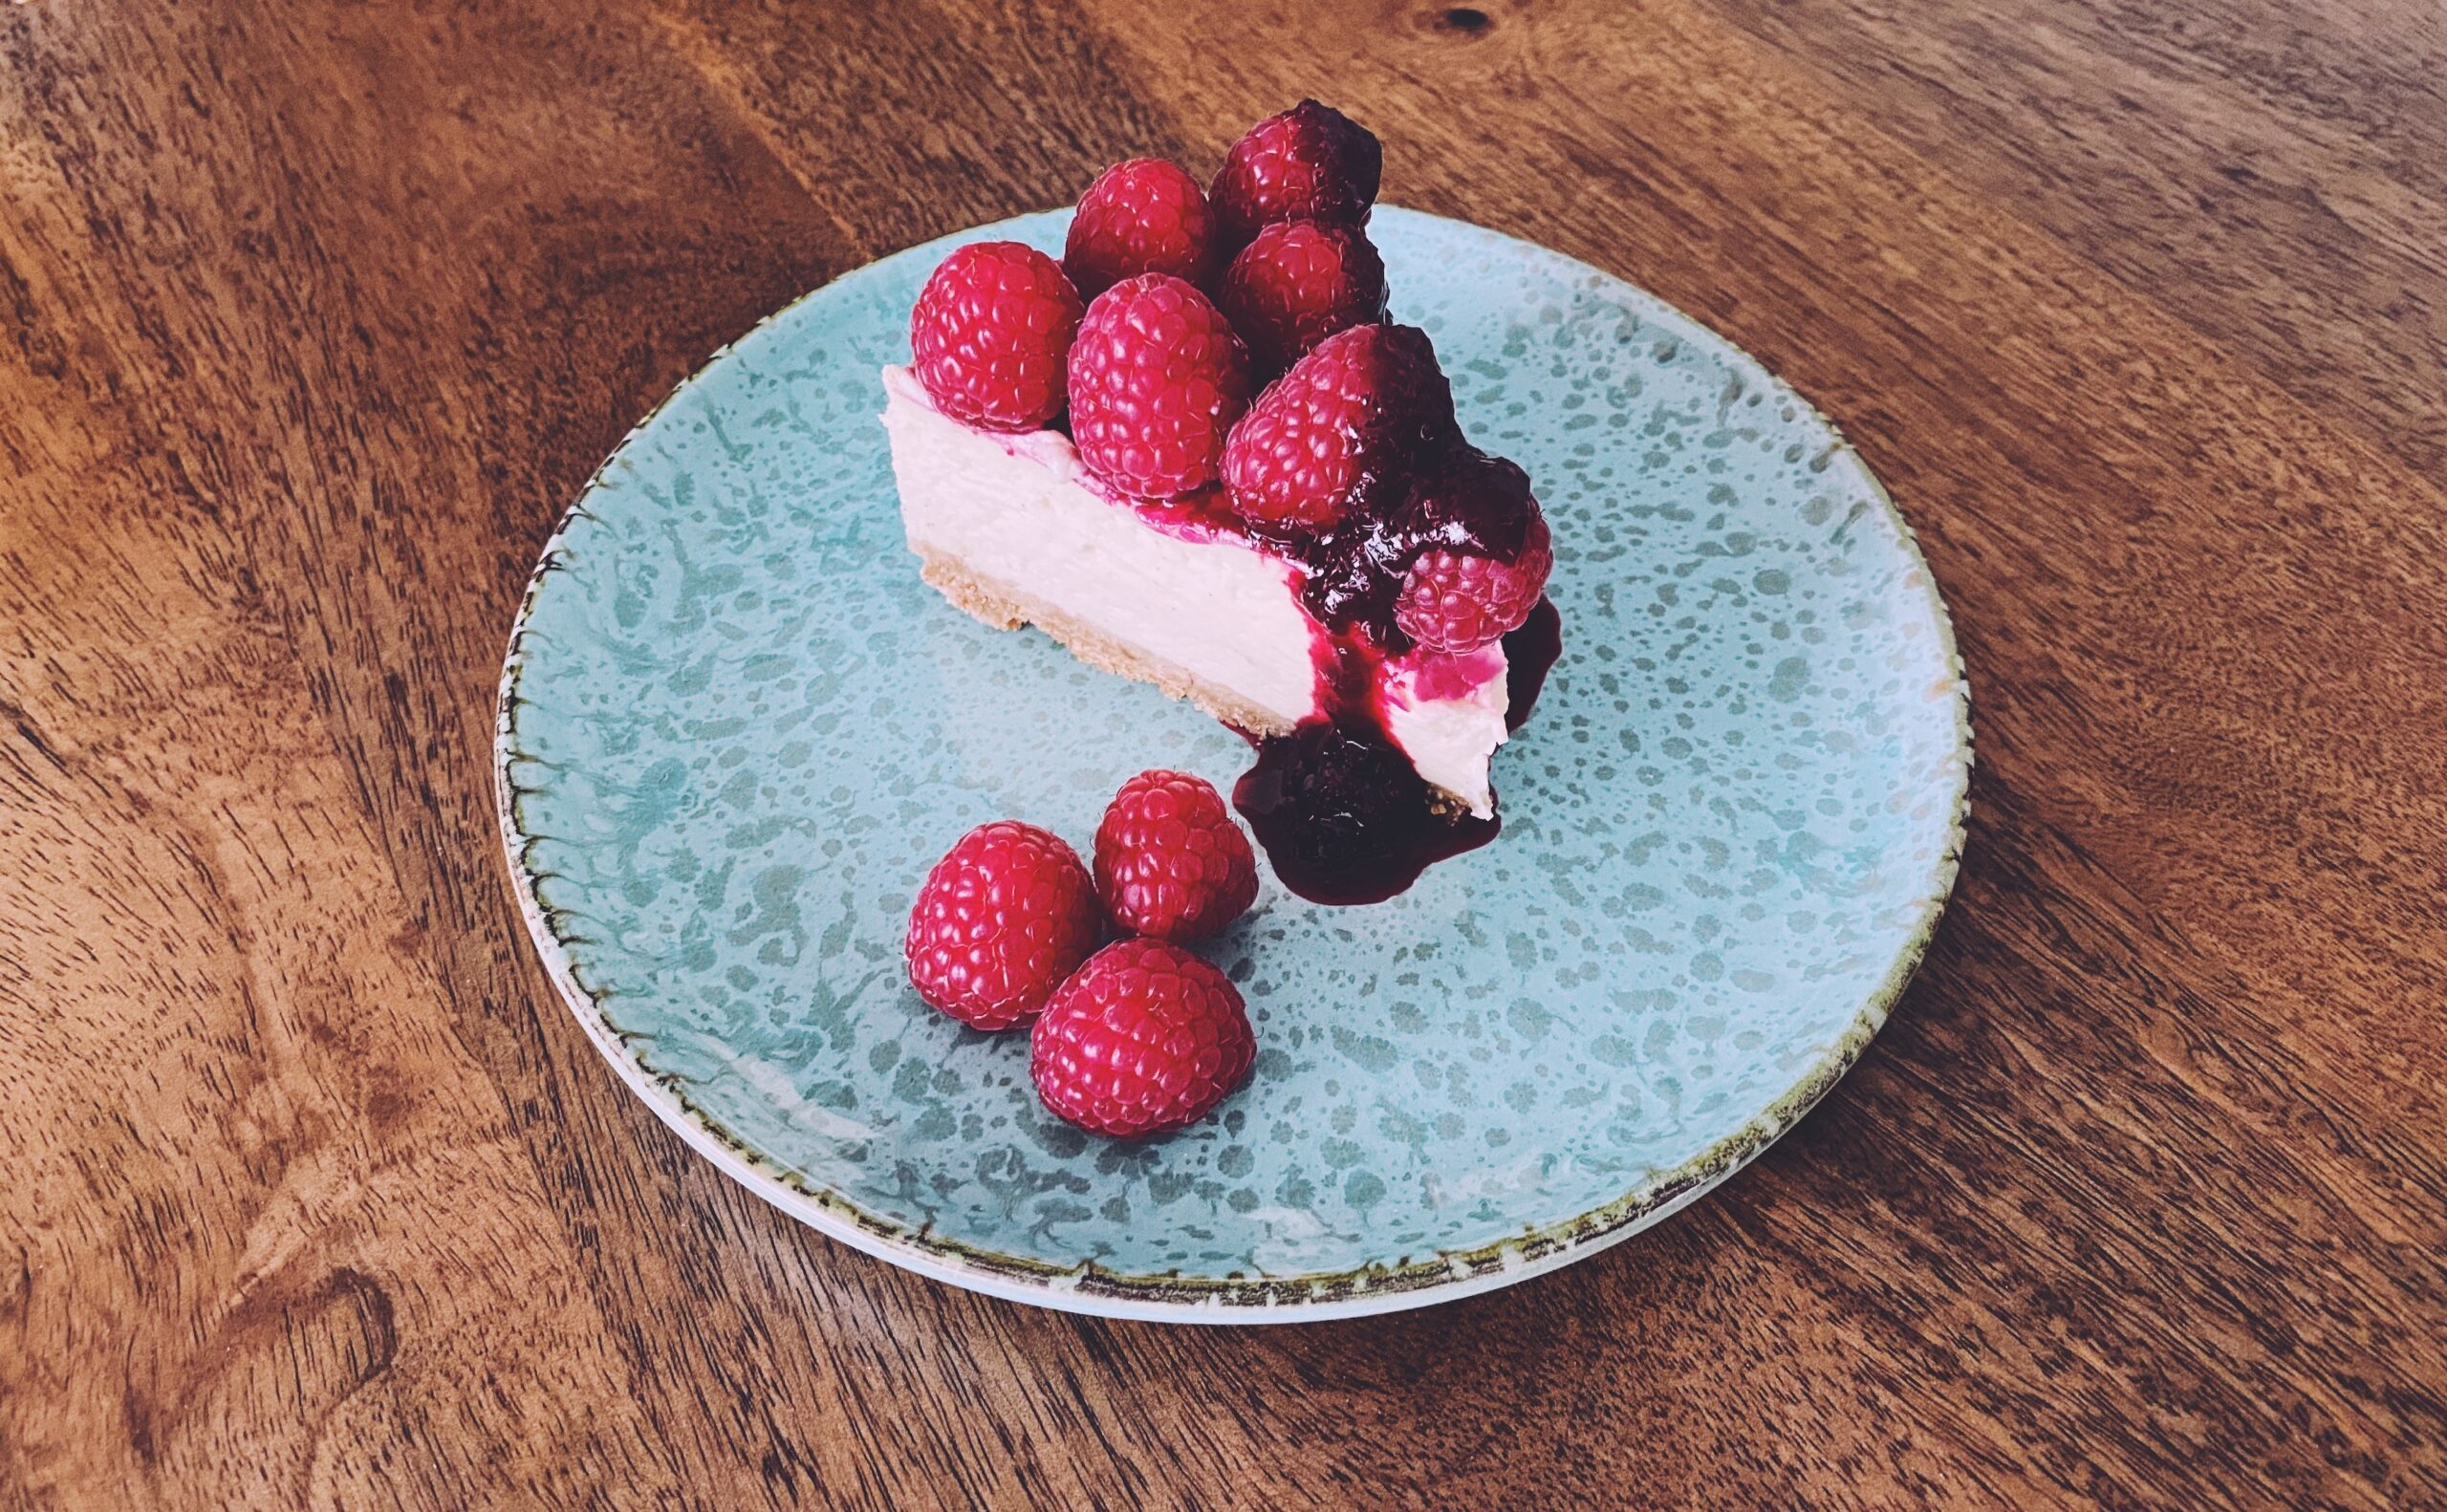
This velvety cheesecake is a beautiful, indulgent dessert, a highlight for any occasion. And the best part is – the recipe works beautifully with different types of cream cheese, whether it is classic full fat, low fat or lactose-free, both in containers and briquettes.
This recipe works amazingly with lactose-free ingredients, as well as with low-fat balance cream cheese.
For perfect cheesecake every time, simply follow these easy steps and tips. Also, for even better visualizing, watch our step-by-step video recipe.
INGREDIENTS for ⌀18cm form:
- Biscuits (In the video, I use Lotus crackers for my lactose-free cheesecake. However, you can use digestive crackers, graham crackers, oaty biscuits, or any other you like) – 120 g
- Melted Butter (regular or lactose-free) – 60 g
- Caster Sugar – 120 g
- Cream cheese (I use lactose-free Philadelphia in the video. Though, I also made it with full fat and even with low-fat balance cream cheese) – 400 g
- Sour Cream (regular or lactose-free) – 200g
- Heavy Cream (regular or lactose-free) – 150 ml
- Eggs – 2
- Corn Starch – 2 tbsp
- Vanilla Extract – 1 tsp or 1/2 of vanilla pod
- Lemon Juice – 1 tbsp
For berry sauce:
- Your favourite berries (Raspberries, Cherries, Blueberries, etc.), fresh or frozen – 300 g
- Caster Sugar – 40 g
- Water – 2 tbsp
COOKING METHOD:
The first tip for making your cheesecake smooth and velvety, make sure that you bring all the ingredients to the room temperature before you start cooking.
- Preheat the oven to 180ºC/350ºF/gas 4.
- Cover your ⌀18 cm backing form with a double layer of tin foil. It is important to use a water bath in this recipe. This is the way! :) It gives that essential humidity that classic cheesecake needs. Besides, it is not complicated at all. You can even use a disposable tin foil baking dish and squeeze it around your form.
- Another tip: To make it easier to remove the cheesecake from the form, line it up with backing paper at the bottom and the sides.
- Crush the biscuits in a bowl or a food processor into fine breadcrumbs.
- Melt the butter in a saucepan on low heat.
- Combine the melted butter and the crushed biscuits in a bowl. Transfer the biscuit mixture into a loose-bottomed 18cm diameter springform. Using the back of a spoon, spread it evenly over the base and put it aside for now.
- In a large bowl or a stand mixer (on medium-low speed), beat the cream cheese and sugar for a couple of minutes until smooth and creamy.
- Now, mix in the sour cream.
- Then add the heavy cream and carefully combine for another minute or so.
- After that, add the eggs and carefully combine everything. Tip: don’t overdo your batter and eggs. Just combine all the ingredients until nice and smooth.
- Sif in the corn starch and swiftly mix it in, making sure there are no lumps.
- Finally, add the vanilla and lemon juice, mixing everything well one more time for 1-2 minutes.
- Pure your batter into the springform and even the surface.
- Place it on the baking tray and put it into the preheated oven (middle shelve), adding some hot water into the baking tray.
- Bake for 30 minutes at 180ºC/350ºF/gas 4. Then turn your oven down to 150ºC/300ºF/gas 2, and cook further 30 minutes. After that, turn your oven off and leave your cheesecake inside for one hour.
- After one hour, you can remove it from the oven and let it cool down to room temperature. Then refrigerate for 6 hours. One more tip: if cracks appear on the top of the cheesecake, don’t worry. There are a lot of reasons for that, from fast cooling to overbaking. However, they will not affect the taste, only esthetics. Besides, you can easily fix it by decorating your cheesecake with sauce and berries on top.
- Finally, carefully remove your cheesecake from the form to the serving dish. If you want, you can decorate it with some fresh fruits, but it is totally optional. Please keep it in the fridge until serving.
- While serving, pure some of your delicious homemade berries sauce on the top.
BERRY SAUCE:
- Place your berries into the saucepan.
- Add the sugar and water.
- Bring to boil and cook unit nice thick consistency.
- When your sauce ready, rub it through a sieve to make a silky sauce. And it is ready. For storing it, use an airtight container or a glass jar with a lid.
KEEPING:
If stored properly, cheesecake would last up to 4 days in the airtight container in the fridge.
CONVERSION OPTIONS:
⌀18 cm backing form ➦ ⌀24 cm backing form. Double the ingredients. Baking 30 minutes at 180ºC/350ºF/gas 4, then for 60 minutes at 150ºC/300ºF/gas 2. After that, turn your oven off and leave your cheesecake inside for one hour. Other steps are the same.


How do you like this recipe? If you have any questions, do not hesitate to contact us -> GET IN TOUCH.
And tastes amazing!! Thank you for creating the lactose-free recipe!! 💝
As a person who loves dairy but is lactose intolerant this was a life saver! This recipe was easy to follow and it came out amazing.